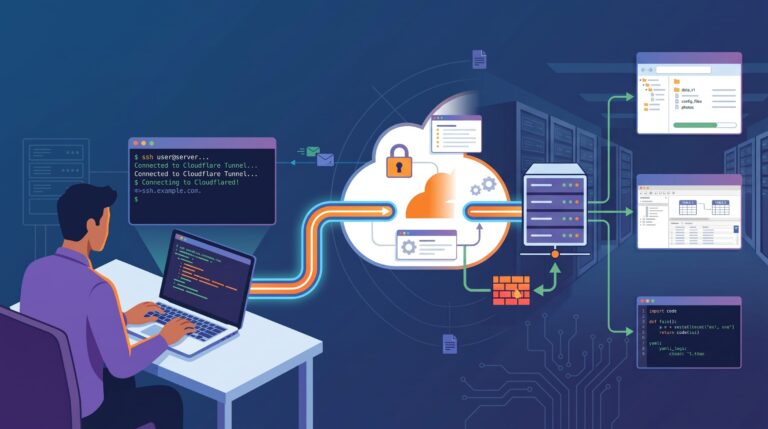
In a previous Cloudflare-related post, I documented the additional work required to allow ssh to access your web server behind Cloudflare protection.
To briefly recap, we use a piece of software called cloudflared to create a secure tunnel, and redirect the local ssh port (port 22) over this secure tunnel. What if you want to upload code files using an SFTP client, a file editor, or connect a MySQL database tool? Is there a way to redirect or forward ports to services protected by Cloudflare? Yes… I will explore these use cases in this post.
Cloudflare does offer secure VPN software called WARP that allows you to access your Cloudflare-protected assets. However, this may route more network traffic via Cloudflare than you might be comfortable with. Using cloudflared means we can grant access on a much tighter basis.
Apps Supporting OpenSSH
On Windows, macOS, and Linux, OpenSSH is preinstalled. This provides ssh and other secure network utilities. As we saw in a previous post, the ~/.ssh/config file can configure settings and launch external programs like cloudflared.
Applications that fully support OpenSSH essentially can read the ~/.ssh/config file, launch the cloudflared tunnel and ssh connection in the background. This makes life so much easier because the need for additional configuration is minimized.
Here are my favourites for remotely managing files and code:
- Visual Studio Code: a very popular cross-platform code editor. VSCode reads your
~/.ssh/configfile and makes these connections available. - Forklift or Transmit: these popular macOS file managers also support OpenSSH, meaning you can connect to your remote server to manage and transfer files.
Connecting MySQL Clients
Configuring The Connection
Most companies offering WordPress hosting offer some type of MySQL access through a web browser. This is not the easiest or best way to work with your MySQL database. Installing a MySQL client on your laptop is a much more powerful option. However, we have the same issue that we had with ssh. Cloudflare proxies web traffic only. How do we connect to a MySQL server port?
Once we instantiate an ssh connection, we can forward local ports to the server and make it look like we ourselves are on the server. Rather that remembering a number of arcane command-line invocations, we can also add this to our ~/.ssh/config like we did for our ssh hosts.
Host mysql-acmewidgets
  ProxyCommand cloudflared access ssh --hostname ssh.acmewidgets.dev
  User acmewidgets
  IdentitiesOnly yes
  IdentityFile ~/.ssh/id_acmewidgets.pub
  LocalForward 3307 127.0.0.1:3306
  SessionType none
  ServerAliveInterval 30
  ServerAliveCountMax 3
This is much like the config file we created to enable ssh access, but with a few additions around forwarding and session management:
- The
ProxyCommand --hostnameis hardcoded here. LocalForwardtellssshto forward localhost traffic on port 3307 to the MySQL port 3306 on the remote host.SessionType nonetellssshwe don’t need a prompt, just open the connection.ServerAliveIntervalsends a small keepalive every 30 seconds, andServerAliveCountMaxgives up after 3 attempts.
You can create a small script to relaunch in the event your connection drops on longer sessions.
while true; do
  ssh mysql-acmewidgets
  echo "Tunnel dropped — reconnecting in 5s..."
  sleep 5
done
Launch in a terminal window and leave it open. This will create and persist a secure tunnel. To end the connection, press Ctrl-C twice.
Configuring Your MySQL Client
You can easily connect your MySQl client when this tunnel is running and port forwarding is set up in the ~/.ssh/config.
If you are running a WordPress website, you can grab the connection information from the wp-config.php file. Grab the following information:
- DB_NAME: name of the database for the website
- DB_USER: the user account accessing the database
- DB_PASSWORD: the password for the user
- DB_HOST: the IP address and port of the database server. This is typically the localhost (127.0.0.1) on service port 3306. You should particularly note if any of this information is different.
Let’s review the LocalForward 3307 127.0.0.1:3306 line from our ~/.ssh/config. The LocalForward directive forwards a local service port to a remote IP and service port. The remote IP and port are identified from the perspective of the server. In this example, the remote server is running a database on localhost, on the typical MySQL port.
MySQL can be notoriously difficult to configure for remote access, even without Cloudflare in the mix. Connecting over port forwarding simplifies things because we appear to be local on the server.
When configuring your MySQL client, you can use the credentials we grabbed earlier. The server hostname is localhost (127.0.0.1) and the port is 3307. This gets forwarded to the server’s localhost on port 3306.
Other Remote App Configuration
We can follow a similar pattern for almost any software that can make a remote connection. A server offers a number of services, with each of those services running on a different port. For example, a web server listens on port 80, or 443 if it’s secured over TLS1, ssh is port 22, etc We can connect a lot of things, but we need to forward these ports through a tunnel to reach anything behind Cloudflare’s protection.
Maybe you’re a big fan of Cyberduck, but are frustrated by the broken OpenSSH implementation. Using cloudflared to instantiate the tunnel and port forward, we can work around that.
You can run the following in a terminal window:
cloudflared access tcp --hostname ssh.acmewidgets.dev --url 127.0.0.1:2222
As an alternative, you can also add this to your ~/.ssh/config file:
Host sftp-acmewidgets
  HostName ssh.acmewidgets.dev
  User acmewidgets
  ProxyCommand /opt/homebrew/bin/cloudflared access ssh --hostname %h
  LocalForward 2222 localhost:22
  SessionType none
  ExitOnForwardFailure yes
Running ssh sftp-acmewidgets essentially does the same thing.
This opens our tunnel with TCP support, and starts a listener on port 2222 on localhost. This will enable you to use almost any SFTP client by configuring it to connect to localhost on port 2222. This connects you via ssh over the cloudflared tunnel. Use Ctrl-C to close the connection.
Next Steps
The previous post covered setting up a tunnel and routes to allow ssh to access a remote server proxied by Cloudflare. This post used those same tunnels and routes along with port forwarding to enable different tools to have secure remote access.
In the next post, we downsize and explore how to create similar secure connections on a tablet or phone!
- The protocol and encryption used in your browser used to be called SSL, for Secure Sockets Layer. This has been phased out in favour of TLS (Transport Layer Security), but the legacy term still gets used. We still say “SSL certificate” because it’s easier than “X.509 Digital Certificate used in TLS authentication”. ↩︎